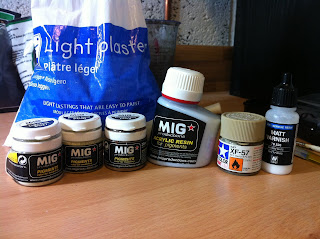
So onto the ultra cool and exciting stuff :D I received a package in the post today containg a few new cool items: Mig Acrylic Resin, Mig Thinners for washes, Mig Pigment fixer: Some great sanding boards, Tamiya putty and some Mig brown for desert filter.
So I've applied some filter to the chassis and parts of the Tauros Venator, but I didn't take pics as the difference isn't too noticeable by camera. Basically th filter works very similar to a glaze and is applied to alter the hue of the model, rather than shade it.
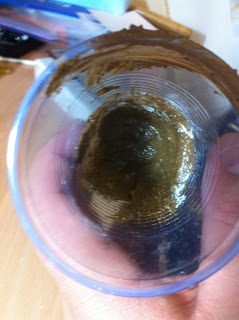
I also got onto doing the ground works for the base as well. Using a mix of plaster, Mig acrylic resin, matt varnish, Mig Gulf war sand,beach sand, light dust and europe dust I made a sickly looking paste/mix
Yeah, don't worry, it does look like I've had a botty accident in the plastic cup, but I do assure you it is the mix from above... Oh I also added tamiya buff paint and some model scenics medium buff ballast.
Then using an old paint brush I painted / stabbed this onto the base.
Looks like cool wet mud at the moment, but it is drying a nice colour. Tomorrow I plan to lay a dust coat down with the airbrush before adding another small amount of mix with a litter colour to it and alternative mix formula.
In addition to this I also applied gulf sand pigment to the wheel before applying pigment fixer in a circular motion towards the centre of the wheel hub. I'll take phtos of this tomorrow so that the full effect can be seen.
Until tomorrow night.
Krom


3 comments:
looks good, maybe add a dusting of pigment on the road as it looks a bit to clean at the mo. The mud looks good tho.
I will be dusting the road. Unfortunately I can't do that yet as the mud is still wet and it would just end up as a mess.
As for the mud, this is just the fist layer of material, I'm aiming for desert dust so I'll be applying a dust layer with the airbrush and also making a slightly different mix of earth works so that it looks a lot dryer and duster.
is this how your doing your RoB as well?
Post a Comment